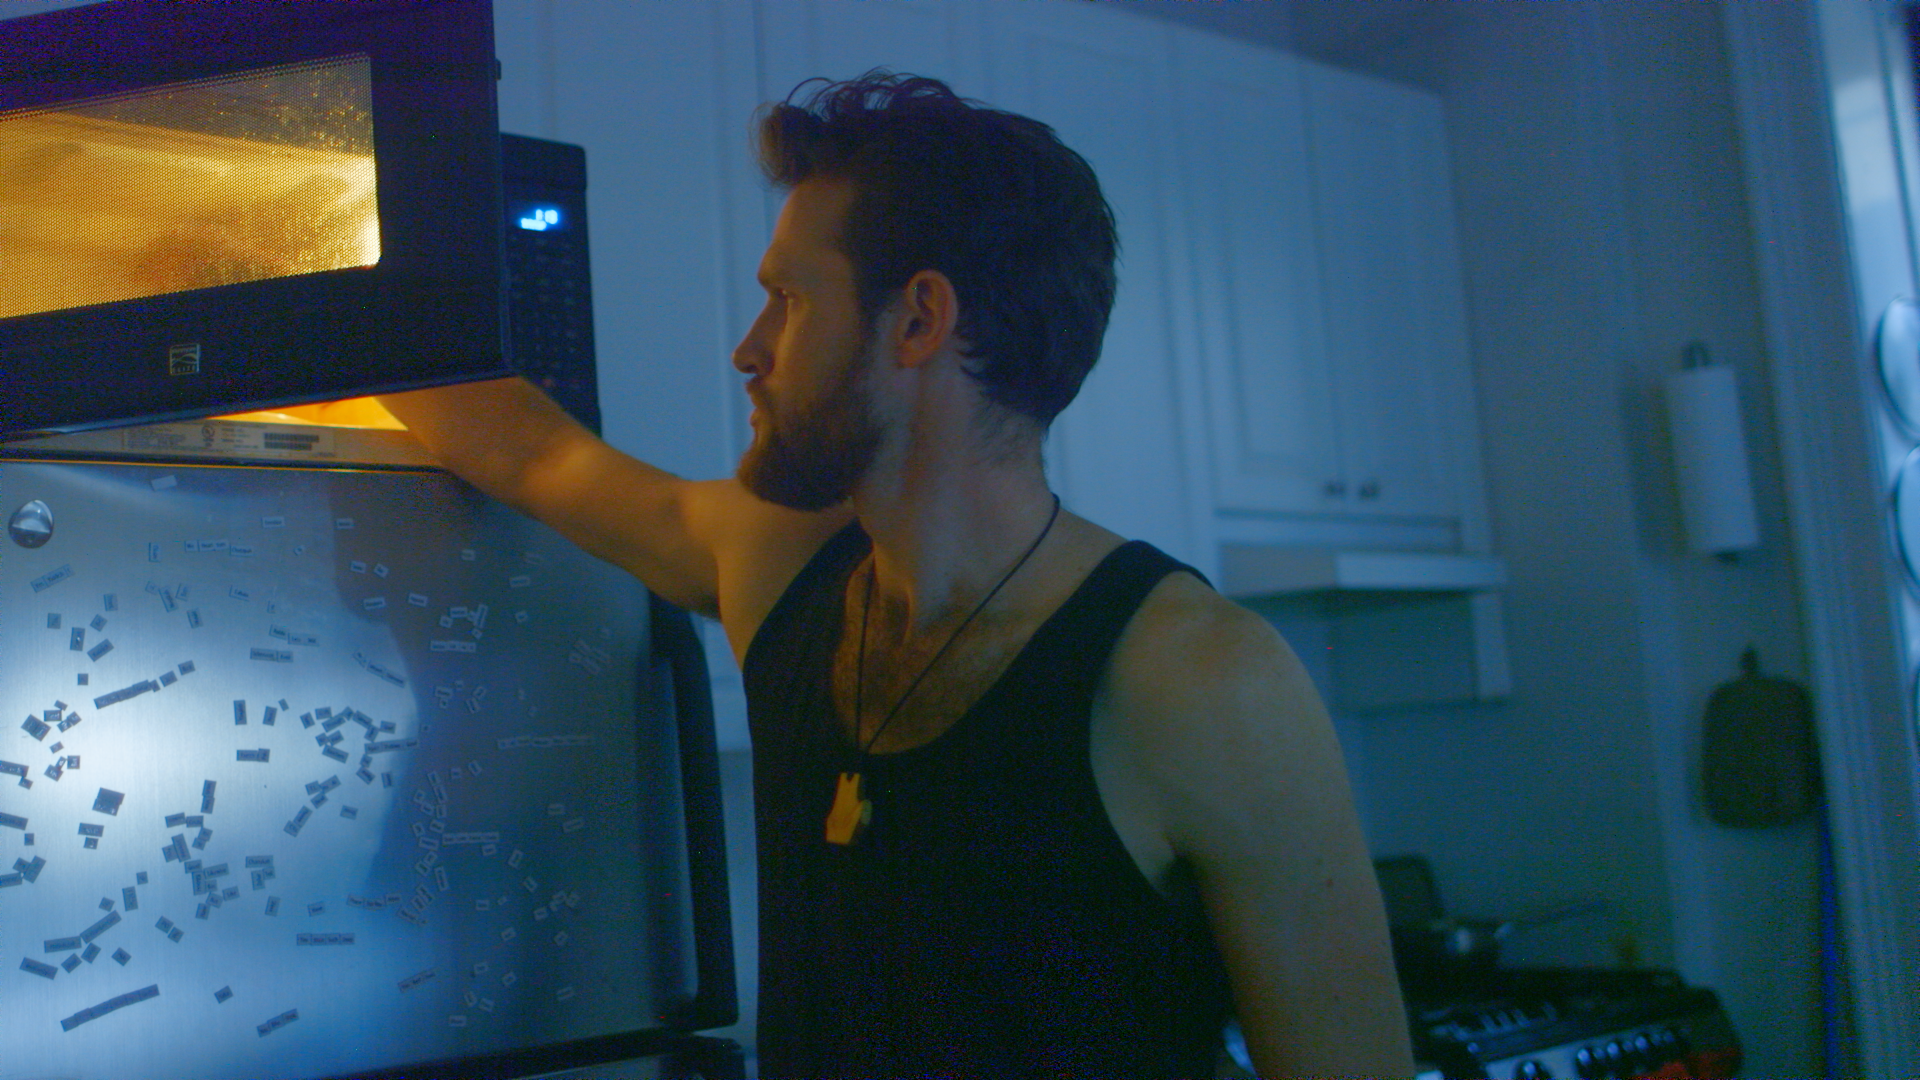
Color banding in video: source, grade or export?
Find where the steps first appear before choosing an enhancement or changing your delivery settings.
Compare the same short section at each stage before deciding what needs fixing.
By RGBA
To reduce color banding in video, first find where the visible steps appear: in the original clip, after your grade, in a local export, or only after upload. Those are different problems. Comparing the same short section at each stage can keep you from processing a source file that already looks smooth.
A pale wall, blue sky or soft shadow is a useful place to check. Watch the shot in motion as well as paused, and keep the original file available throughout the test.
What color banding looks like
Banding is a stepped transition where you expected a smooth change in tone or color. Adobe's color-depth tutorial illustrates this in gradients and shows that the precision used while working on effects can affect the result. Source bit depth, the editing project's working precision and the exported file are separate things to inspect.
Do not diagnose a clip from a compressed screenshot alone. A screenshot adds another representation of the picture. Work from the actual video files when deciding whether a treatment helps.
Compare four versions of the same shot
Make a short test section containing the gradient and something with fine detail nearby. Use the same viewing size and display for the initial comparison. Keep exposure and color interpretation consistent except for the adjustment you are deliberately testing.
| Where the steps first appear | First check | What the result tells you |
|---|---|---|
| Original, before the grade | Reopen the original file and inspect the same frames in your editing workflow | The source itself needs attention before judging the export |
| Graded timeline | Bypass the grade, then restore adjustments one at a time | An adjustment may be exposing or introducing a visible limitation |
| Local delivery export | Compare the export with the timeline and review output settings | The delivery stage needs investigation |
| Uploaded version | Compare the downloaded or streamed result with the local export | Do not assume enhancing the original will resolve this difference |
These are troubleshooting starting points, not a diagnosis of your particular file. A display or viewing configuration can complicate comparison, so keep a record of which version you are looking at rather than relying on memory.
If banding appears under the grade
Temporarily bypass the look and restore its adjustments in a controlled sequence. Identify the change that makes the gradient objectionable. Try a version with a gentler adjustment and decide whether it still serves the shot. There is little value in making a deliberately extreme grade simply to demonstrate a problem you would never deliver.
Check your application's documented working color-depth settings as well. Adobe demonstrates a benefit from higher working precision in its own After Effects example; that does not establish that a setting change can repair every recorded clip. Do not assume that changing project precision restores information missing from a source recording.
If the grade you need still makes the source unacceptable, select a representative short section for an enhancement comparison. Keep both versions and apply the same intended grade. You need to judge the image, not just a new bit-depth label.
If the local export or upload is the problem
Retain a good local master before testing delivery options. Compare one change at a time and inspect the exact file that will be delivered. Record the export preset alongside the result so you can reproduce the comparison.
A higher-precision intermediate is one possible part of an editing workflow. Apple documents ProRes 422 HQ as a 10-bit format, while the Library of Congress notes that ProRes can contain 8-bit sources. A 10-bit label therefore does not prove that a source captured more information or that its visible banding has been removed.
If the local master is acceptable and only the uploaded version looks stepped, investigate the delivery service and that version first. Do not buy enhancement on the assumption that it guarantees a clean result through every later encode and display.
When to try RGBA on a short section
RGBA's color-banding preview page is for evaluating supported footage under your intended grade. Supported 8-bit input can become 10-bit ProRes 422 HQ; supported 10-bit input can become 12-bit ProRes 4444. Results depend on the source, and complete banding removal is not guaranteed.
Choose a 10–30 second section that includes the difficult gradient and movement. Compare the original and enhanced output with the same grade, looking at smooth areas, texture and moving edges. Then test a representative delivery export. Keep the original if the preview does not improve the shot or introduces a change you dislike.
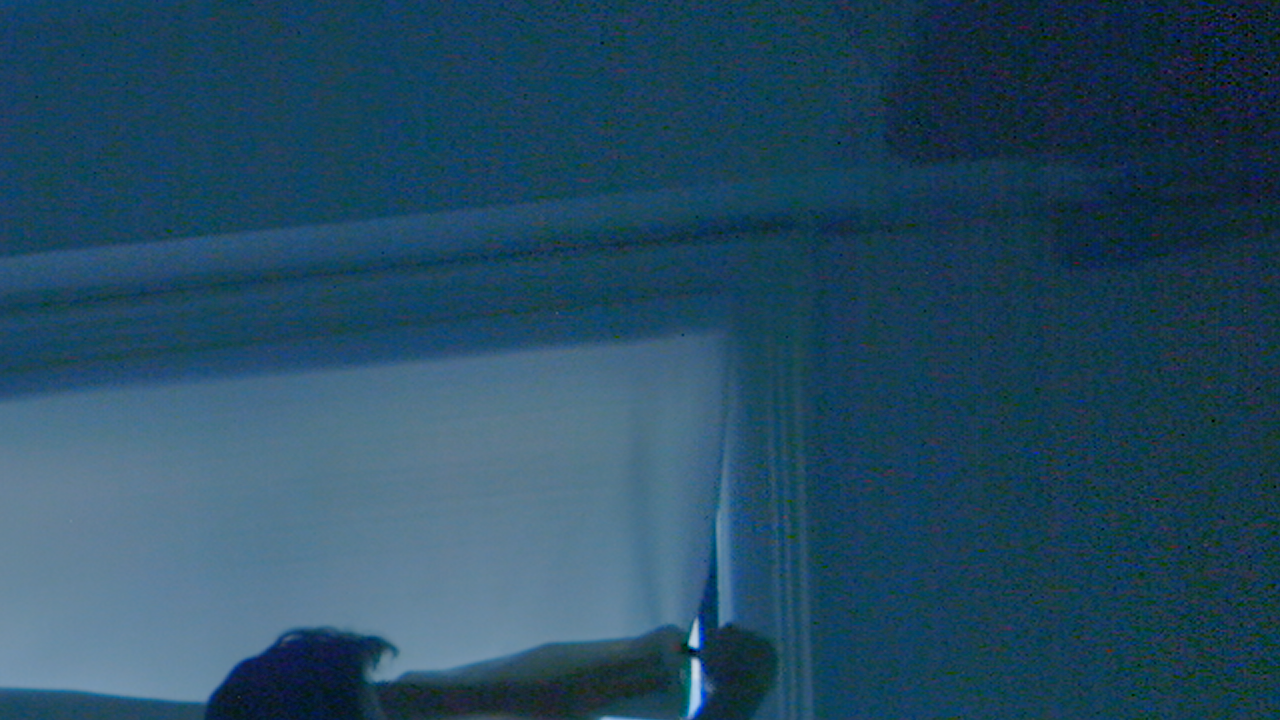
The image above is an existing enhanced detail of a wall and window frame from RGBA's examples. It is a single graded still, not proof of banding removal. Use the paired comparisons on the product page and your own moving preview to evaluate a result.
Try a free preview with your RGBA account. Check your remaining allowance and the current limits before processing. Check current limits and try your footage. Enhancement cannot recover clipped highlights, restore lost original detail or add captured dynamic range. Test the output in your actual editor; Final Cut Pro compatibility remains unverified.
Frequently asked questions
Can all color banding in video be removed?
No universal result is guaranteed. First identify where the bands appear, then compare a short test under the grade and delivery settings you actually need. Judge motion and fine detail as well as smooth regions.
Will converting an 8-bit file to 10-bit fix banding?
A higher-precision output label alone does not show that the picture improved. Compare the actual result with the original under the same grade. Conversion does not change what was originally captured.
Should I enhance a clip that looks fine before upload?
Check the local master and uploaded version first. If the problem appears only in the uploaded version, source enhancement may not address the stage responsible for the difference.
What should I include in a preview clip?
Include the affected gradient, nearby texture and some motion. Keep the original, use the same intended grade for both versions, and review a short final-format export before processing more footage.